

Table of Contents
The difference between a clean WordPress SEO migration and a traffic disaster comes down to methodical preparation and relentless follow-through. You can’t wing this. Every URL that changes without a proper redirect is a broken promise to Google and a dead end for users who bookmarked your content.
This isn’t a general SEO guide. It’s a focused checklist for one specific scenario: keeping your organic traffic intact while you move your WordPress site. Let’s walk through what actually matters.
Map Every URL Before You Touch Anything
You need a complete inventory of your current URLs before migration day. Export everything: posts, pages, categories, tags, custom post types. If it has a URL, it goes on the list.
Most people skip this step and try to build redirects retroactively. That’s backwards. You can’t redirect what you don’t know exists. Use a crawler like Screaming Frog or your existing XML sitemap as a starting point, but don’t stop there. Check Google Search Console for any indexed URLs that might not appear in your sitemap—old pagination URLs, parameter variations, or manually created landing pages that someone forgot about.
Once you have the full list, map old URLs to their new equivalents. If your permalink structure is changing from /blog/post-name to /post-name, document that pattern. If you’re consolidating content or removing pages entirely, decide now where those URLs should redirect. Sending everything to the homepage is lazy and ineffective. Find the next-best relevant page.
This mapping document becomes your redirect bible. It should be a simple spreadsheet: old URL in column A, new URL in column B, redirect type in column C. Clean, specific, verifiable.
Build Your 301 Redirect Strategy Around Preservation
A 301 redirect tells search engines “this page permanently moved here.” It passes roughly 90-95% of the original page’s ranking power to the new URL. That’s your safety net during a WordPress migration.
You’ve got a few implementation options. For small sites (under 100 redirects), a plugin like Redirection works fine. You manually input your URL pairs, and it handles the rest. For larger migrations, you need server-level redirects in your .htaccess file or Nginx configuration. Server-level is faster and doesn’t rely on WordPress loading, but it requires technical comfort with regex patterns.
Here’s what most guides won’t tell you: redirect chains kill your migration. If URL A redirects to URL B, which redirects to URL C, you’ve created friction. Google might follow two hops, but users bounce, and you’re hemorrhaging link equity at every step. Audit your redirect map for chains before you launch. Every old URL should point directly to its final destination.
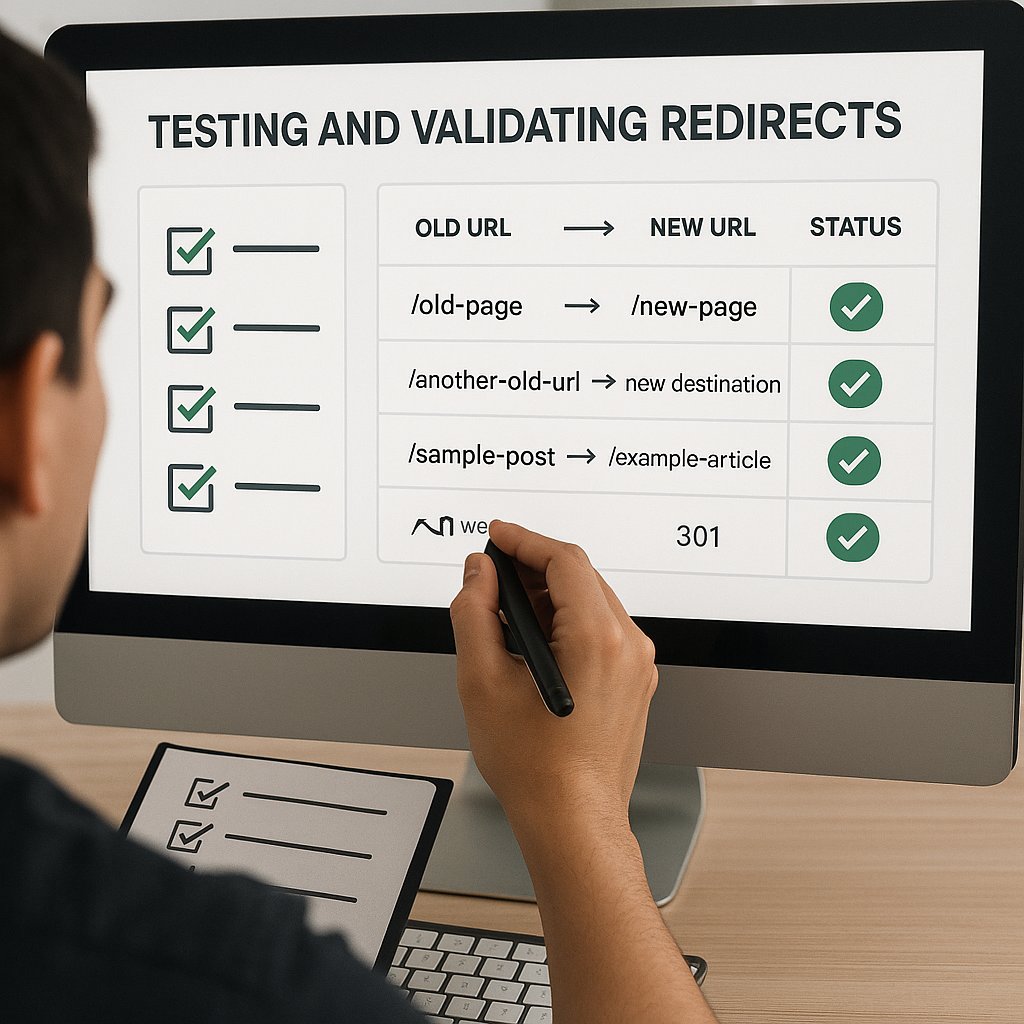
Test your redirects in staging. Hit every old URL manually or use a redirect checker tool. A 200 status code means the redirect failed—you’re still seeing the old page. You want 301 responses across the board. If you see 404s or 302s (temporary redirects), fix them before launch.
One more thing: don’t redirect to slightly different content because it’s “close enough.” If you had a detailed guide on WordPress security plugins and you’re removing it, redirect to your general WordPress security category or your next-best security article. Relevance matters. Google notices when you redirect a backlink magnet to an unrelated page.
Fix Internal Links Before They Become Broken Links
Your redirect map handles external links and old bookmarks, but internal links are a different beast. If your site has 500 posts and each post links to 5 other posts, that’s 2,500 internal links that might break during migration.
Relying entirely on redirects for internal navigation is inefficient. You’re adding server overhead to every page load and creating unnecessary redirect hops for users and crawlers. The cleaner approach is updating internal links to point directly to new URLs.
For a small site, you can do this manually with a database search-and-replace tool like Better Search Replace. Search for your old domain or old URL structure and replace it with the new pattern. But be surgical—one wrong regex and you corrupt your database.
For larger migrations or complex URL structure changes, manual updates become impractical. This is where automated internal link updates save you dozens of hours. Tools like AI Internal Links can scan your content post-migration and systematically fix broken internal paths, ensuring your site structure stays intact without manual link hunting.
The key is doing this immediately after launch, not three weeks later when you notice your crawl budget is wasted on redirect chains. Fresh internal links mean faster crawling, cleaner user experience, and no residual technical debt from the migration.
Force Google to Recrawl and Reindex Correctly
Your site went live with new URLs, redirects are in place, internal links are updated. Now you need to tell Google what changed.
Submit your updated XML sitemap through Google Search Console. If your URL structure changed significantly, you might have two sitemaps temporarily: one with old URLs (to help Google discover your redirects) and one with new URLs (to prioritize crawling your current structure). Remove the old sitemap after a week or two once redirects are discovered.
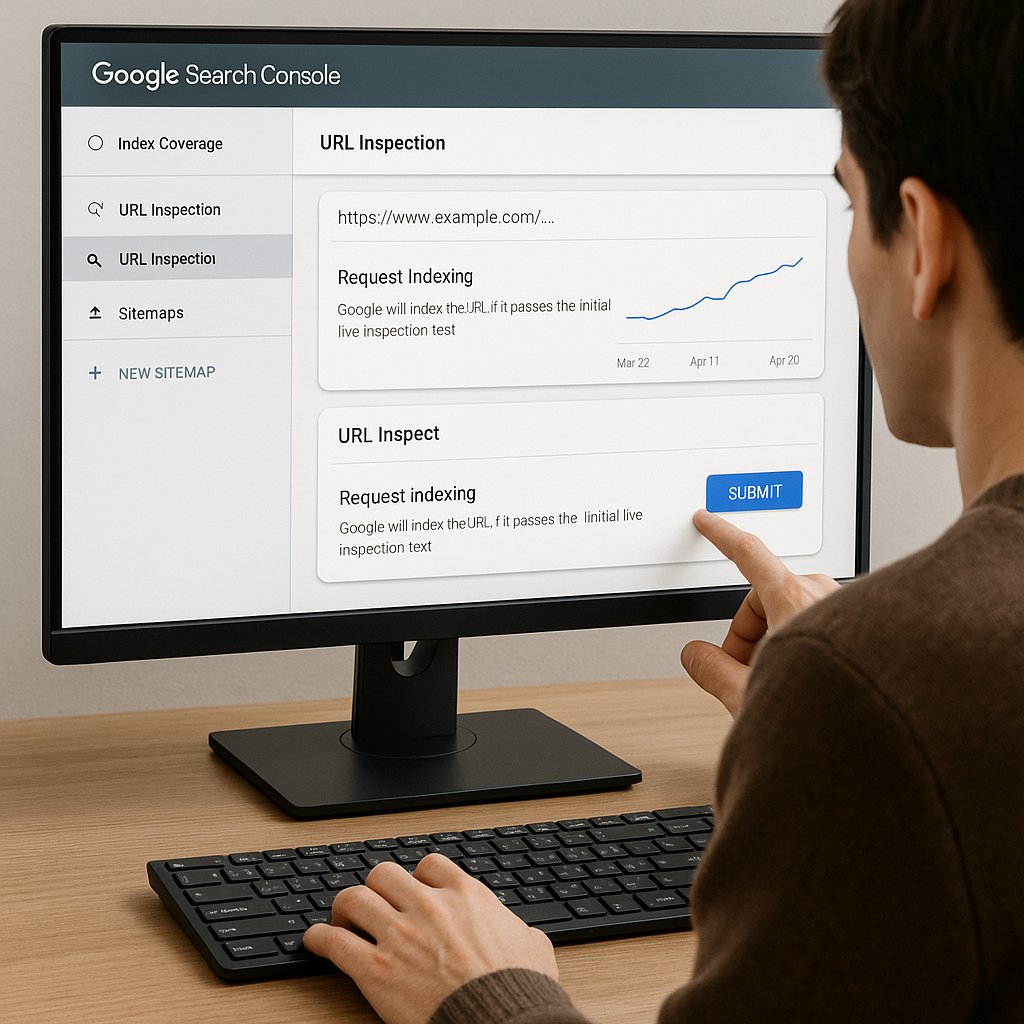
Use the URL Inspection tool in Search Console to manually request indexing for your most important pages. Don’t spam it with 500 requests—Google rate-limits manual indexing requests. Focus on your top 20-30 pages by traffic and backlinks. These are your revenue drivers and authority signals. Get them reindexed first.
Monitor your Index Coverage report obsessively for the first two weeks. Look for unexpected “Excluded” or “Error” statuses. If pages that were indexed pre-migration suddenly show “Crawled – currently not indexed,” you’ve got a problem. Check for accidental noindex tags, robots.txt blocks, or canonicalization issues that snuck in during the move.
Also verify your robots.txt file didn’t change unintentionally. I’ve seen staging robots.txt files (which block everything) accidentally pushed to production during migration. That’ll deindex your entire site in 48 hours. Confirm that your production robots.txt allows crawling of your main content directories and blocks only what you intend.
Watch Traffic Like a Hawk for 30 Days
Post-launch monitoring isn’t optional. You need daily eyes on Google Analytics and Search Console for at least a month after your WordPress migration.
Set up a custom date comparison in Analytics: compare the 30 days post-migration to the 30 days pre-migration. Break it down by traffic source (organic, direct, referral) and by landing page. If organic traffic to a specific page drops by more than 20%, investigate immediately. Check if the redirect is working, if the new URL is indexed, and if the content remained intact.
In Search Console, monitor your total clicks and impressions. A clean migration might show a temporary dip (5-10%) as Google recrawls and reassesses, but you should recover within 7-10 days. If you’re down 30% after two weeks, you missed something critical—likely a redirect issue or an indexation block.
Also watch for unexpected 404 errors in your Crawl Errors report. These are URLs Google expects to exist but can’t find. They might be old URLs you forgot to map, or internal links you didn’t update. Create redirects for any 404s that show significant traffic or backlinks.
Set up uptime monitoring for your new environment. Migration week is when server misconfigurations surface. If your site goes down for six hours overnight and you don’t notice, Google might deprioritize your URLs in search results.
The Migration Doesn’t End at Launch
You flipped the switch, your redirects work, your traffic stabilized. You’re not done.
Go back to your redirect map in three months and audit it. Some redirects can be permanent fixtures (domain changes, URL structure overhauls), but others might be temporary bridges. If you redirected old blog posts to category pages because you consolidated content, revisit whether those categories are still the best destination. Maybe you’ve published new, more relevant content since then.
Keep an eye on your backlink profile through tools like Ahrefs or Search Console’s Links report. If high-authority sites are still linking to your old URLs, that’s fine—your redirects handle it. But if you have the opportunity to reach out and request a link update to the new URL, do it. Direct links are always better than redirected ones.
The goal of a WordPress SEO migration isn’t just avoiding disaster. It’s positioning your site for stronger performance post-launch. Clean URLs, efficient internal linking, and proper indexation set the foundation for growth. Treat migration as an opportunity to fix technical debt, not just a necessary evil. If you do it right, you won’t just preserve your rankings—you’ll improve them.